Roses by Vincent Van Gogh: Session 8
{my setup at the end of the day}
When working on a copy you have to work within many parameters and time limits. Some of them are:
- Only getting to work on the painting one day per week
- Having to keep your easel four feet away from the original painting, meaning you end up standing 6-7 feet away.
- Having to paint within the hours of 10am to 4pm, and with my mom responsibilities, I end up working within a more limited time period.
- Tungsten bulbs shining on the painting, and only natural light from the skylights shining on your canvas. This creates a color temperature shift from your painting to that of the original... I always am trying to make up for this difference.
Though, I find the most influential parameters are often what I impose on myself. Such as:
- Setting over ambitious goals for each painting session. At the start of each session, I brainstorm what area of the canvas I am going to cover, and how I will sequence the steps. Often, I am over confident on how fast I will be able to accomplish such goals.
- Forgetting a supply or tool, such as my paint tube squeezer. A great tool to squeeze the super-stiff lead white out of its tube.
During this session, I was guilty of feeling the pinch of all these parameters, but when I realized what was going on, I purposely paused and tried to become more thoughtful of my actions. In doing so, I noticed something special about this painting…
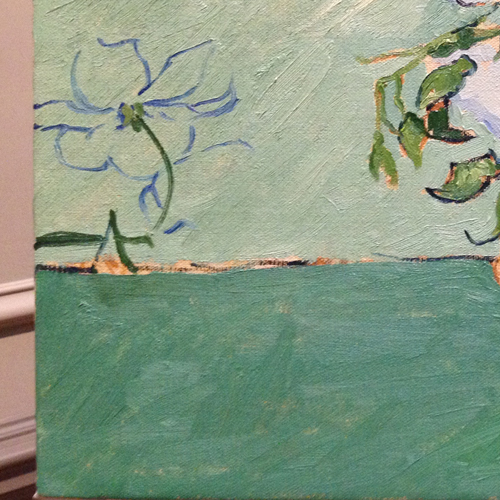
{at the start of the session}
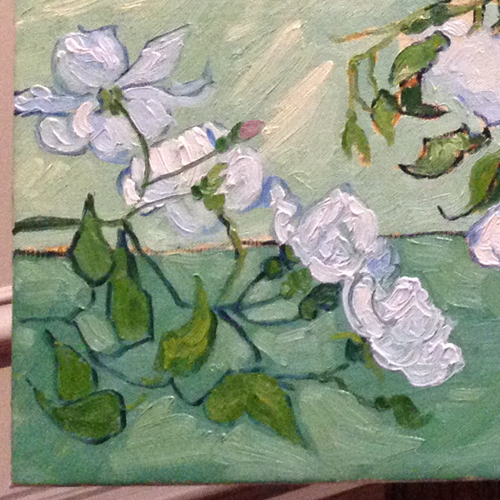
{where I finished}
Van Gogh painted most of this painting as one direct layer of paint. You can see areas of the raw canvas peaking through in places when you get up close to the painting, however the branch of roses in the lower left hand corner were painted on top of the background and foreground paint layers.
{beginning to block in the branch of roses}
This branch of roses was a later addition to the composition. It was like Van Gogh got the painting almost complete and then realized the lower left-hand corner needed something more.
{branch of roses painted in}
This is a tricky technique to achieve because I had to lay a lighter paint color on top of the wet and darker background and foreground colors. It is all in how you handle the brush, and the pressure you apply. And it was important to paint wet-into-wet here instead of painting in the background and coming back next week to paint in the lighter roses because in some areas I needed the under layers to mix some with the upper layers of paint, to help me define form.
Also, as the painting ages and cures, the upper layers will become more transparent, creating a more nuanced effect.
This aging process that an oil painting goes through as it cures and dries (which can take over four years to occur) is one of the features I love about working in oils. That sometimes you paint a certain sequence not for how it will look today, but how the oil paint will cure and ultimately look.
As the artist, you are making decisions for the ultimate outcome, not just for the immediate result.


